2.4.3 | First login by user (registration and initial configuration)

General information

  • Care managers are the main users of the alea cockpit and create the accounts for the alea app for each ward or each defined care setting (care context).

  • The resulting login details for the alea app are provided by the care manager to each user or user group in good time via secure means of communication.

Note on the presentation of the alea app in this user manual

  • The screens shown on this page are taken from the alea app application on a smartphone and tablet.

  • The alea app areas and functions shown are visually and functionally identical in the browser application.

  • While you can only set and configure notifications on mobile devices, when using a browser you have the option of adjusting certain display settings, such as the size.

  • The visual examples are taken from the view for nursing homes.

  • However, the functional logic is applicable to any selectable care setting (homes, domesticity, etc.).

  • Due to the structural differences depending on the selection of the care setting, there are minimal differences in the registration and initial log-in processes.

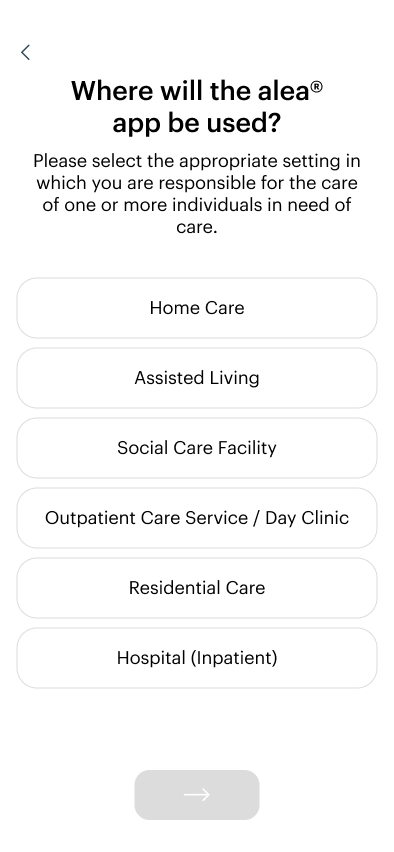
Selection of the care setting using the example of “Residental care”

Stepep 1 of 3

Initial-App-Launch copy.png
  • To register for the first time, click on “Register”.

  • If you have already received access data from an alea care and system administrator or have already registered, select “Log in” and use your username and the password you chose.

Step 2 from 3

Care-Setting.png
  • As a rule, alea app accounts are created for users at companies (e.g. nursing home centres). These users click on “Residental care” here.

  • Users in a home care setting, for example, click on “Home care” and create the alea app account themselves.

Step 3 from 3

Care-Setting_Residential-Care.svg
  • Once you have selected the care setting that is right for you, click on the Continue button (->) to complete your registration for your care setting.

Selection of the care setting u usinging the example of 'home care'

Step 1 of 3

Sign-up_Care-Home-ID_filled copy.png
  • Enter the customer ID generated in the cockpit once.

  • Then click on the Continue button (-->).

Step 2 from 3

Sign-up_Login-data_filled copy.png
  • Enter the username that has already been created in the cockpit.

  • Then set a password of your choice by entering it twice.

  • Then click on the Continue button (-->).

Stepep 3 from 3

Sign-up_Login-data_filled-1.png
  • The registration process is now complete.

  • You can now log in directly with your username and password.

Selection of living areas and residents (Care home)

Step 1 of 3

LogIn.svg
  • Enter your username and password and click on the Log in button.

Step 2 from 3

Login_Living Area Selection.svg


  • Select the living area for which you are responsible during your shift by placing a tick (√) next to it. At least one living area must be selected.

  • Then click on the Continue button (-->).

Step 3 from 3

Login_Resident Selection.svg
  • Select all residents for whom you are responsible during your shift by placing a tick (✓) next to their names. At least one resident must be selected.

  • Then click on the Continue button (→).

Language selection in the alea app

Step 1 of 3

Status.svg
  • In the status overview, tap on the settings icon (cogwheel) at the top right.

Step 2 from 3

Settings.svg


You can find help in the Settings section:

  • The FAQ and Symbol overview sections contain helpful information on how to get the most out of alea and understand how it works.

  • If you have any feedback or urgent questions, you can submit a support request or call the service hotline

  • You can log out securely at the bottom of the page.

  • Be sure to log out before handing your mobile device to another person to use the alea app.

  • That person can then log in with their own user data.

  • Now tap on Language to change the language.

Step 3 from 3

Settings_Language.svg


  • Select the desired language from the list.

  • You can then return to the status overview by clicking the Back button (<).

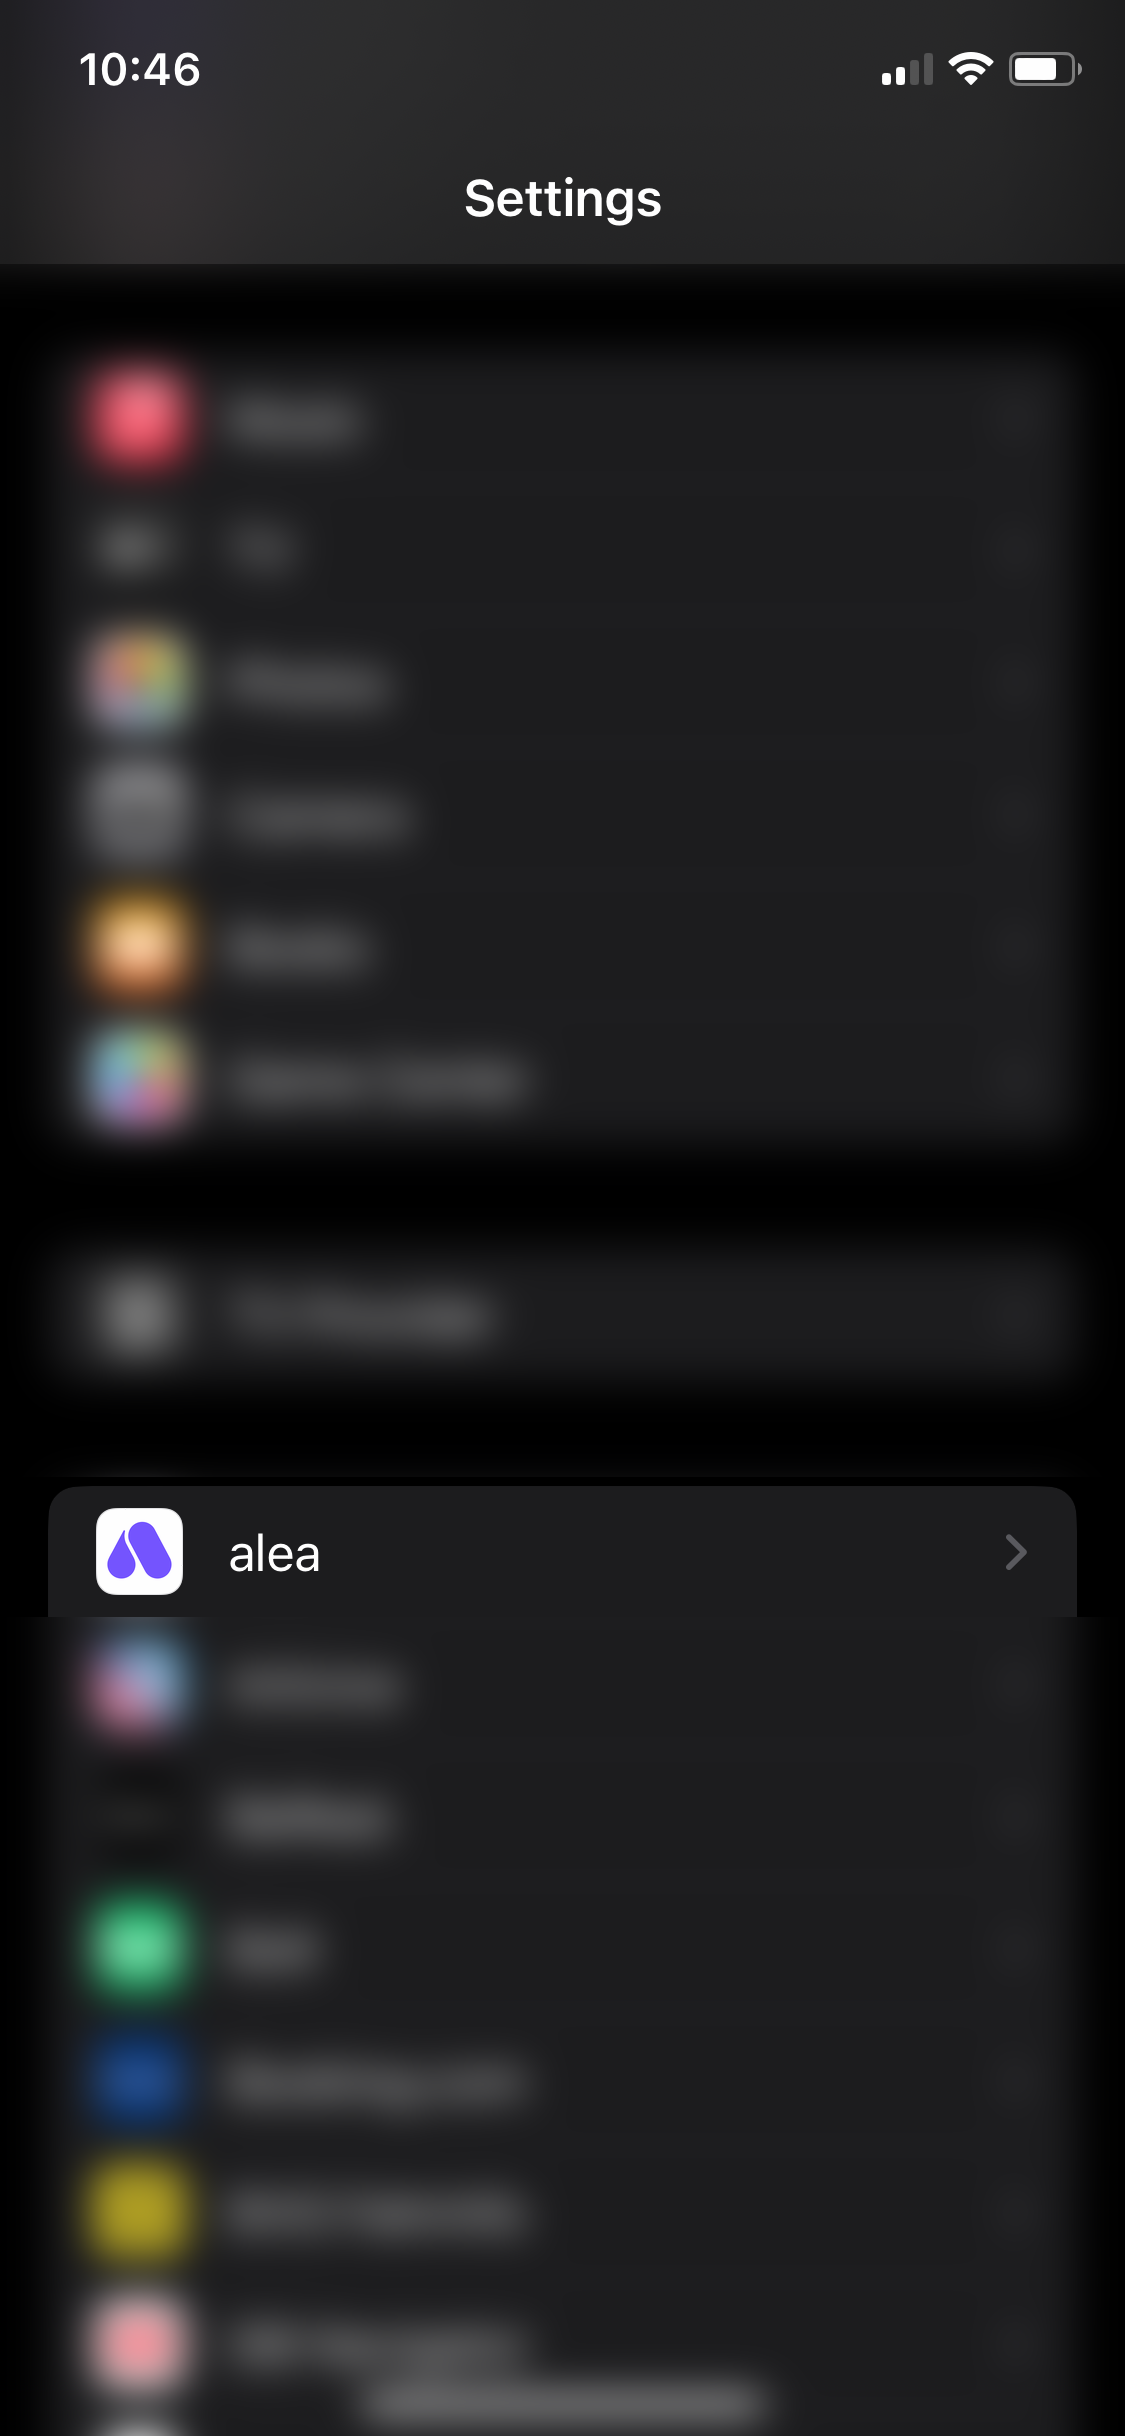
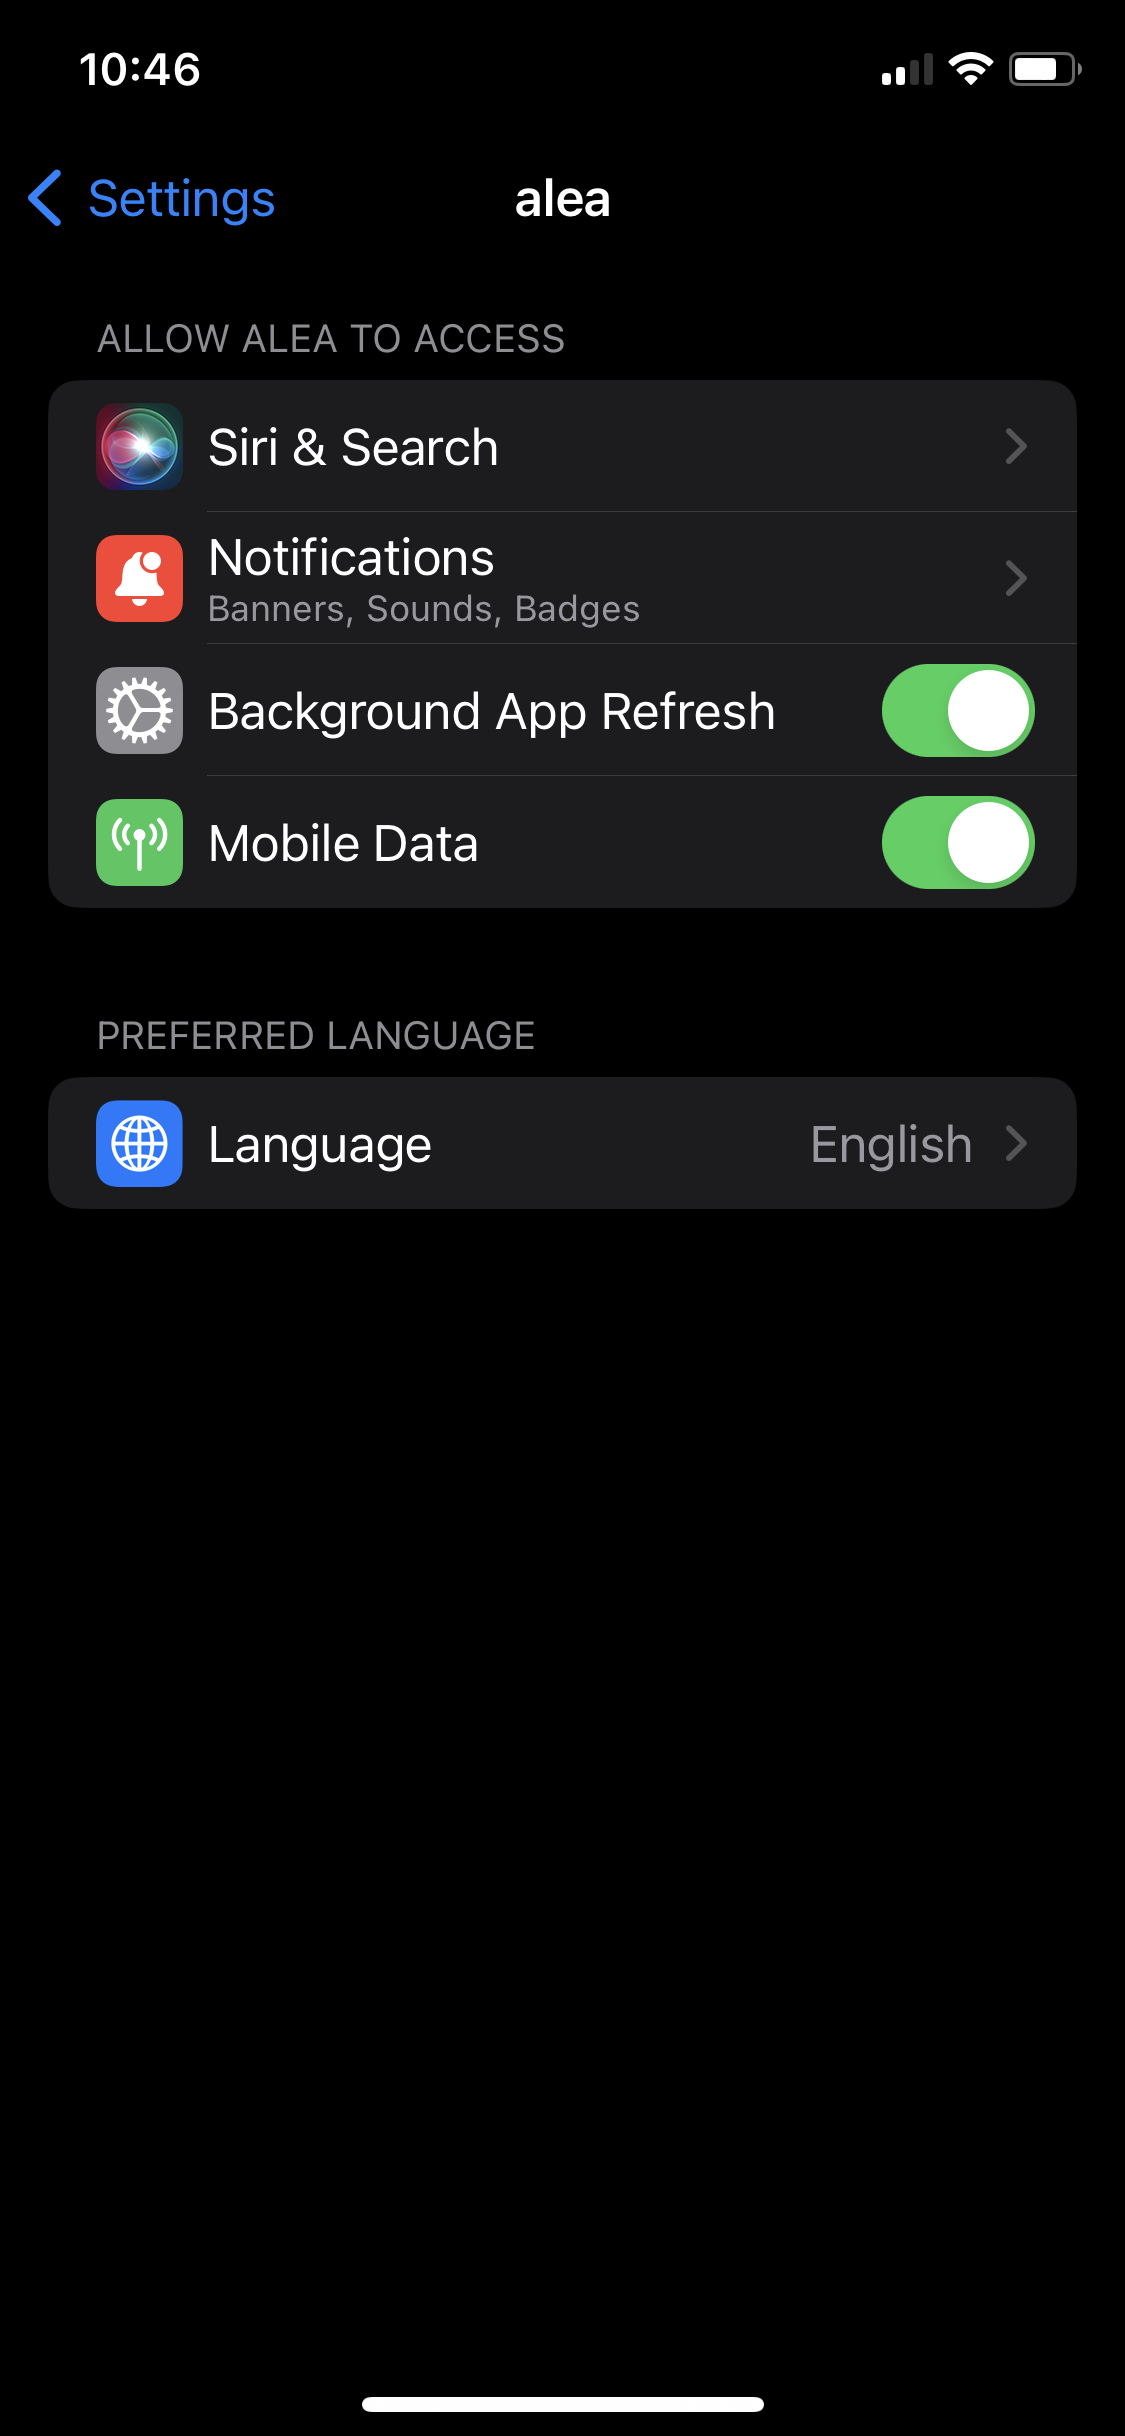
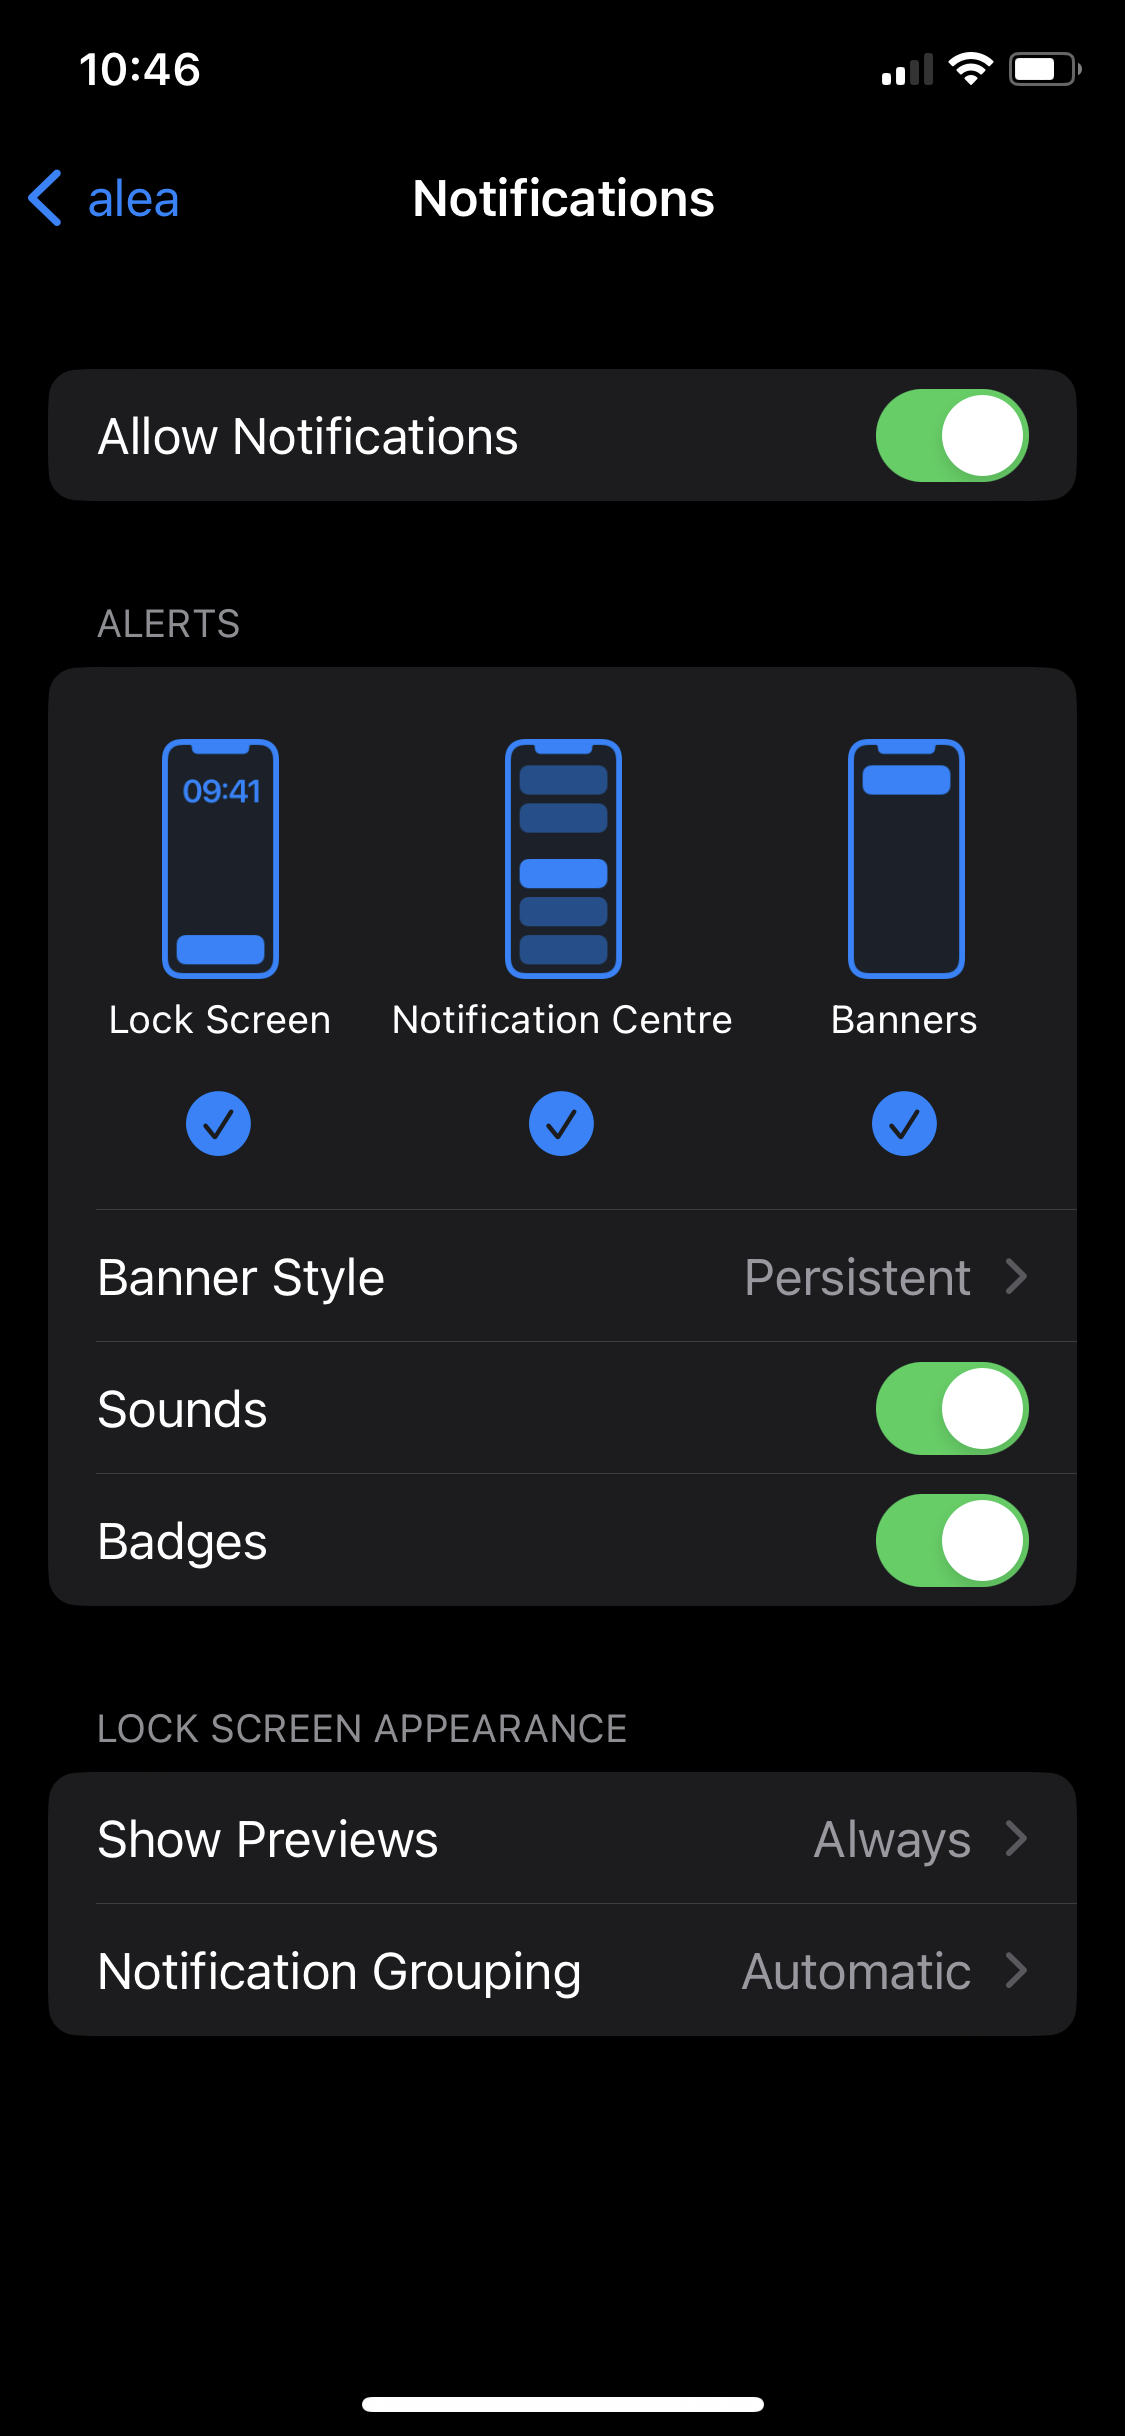
Activate notifications on iOS

Settings_(iOS).png

Step 1 of 3

settings-ios-app.png
  • Go to your settings and scroll down to the customised apps.

  • Tap on the alea app.

Step 2 from 3

settings-iphone-notifications.PNG
  • Tap on Notifications.

Step 3 from 3

settings-iphone-notification-sets.PNG


  • Ensure that Allow Notifications is enabled.

  • We also recommend enabling both sounds and badges, setting the banner style to ‘Persistent’ and selecting ‘Always’ for Show Previews.

  • This will increase the chances of not missing any important notifications.

Activating notifications on Android

Settings-Icon.png

Step 1 of 3

Media (1).png


  • Go to your settings, go to all apps.

  • Tap on the alea app.

Stepep 2 from 3

Media (2).jpeg


  • Tap on Notifications.

Step 3 from 3

Media (3).jpeg
  • We recocommend that you activate all notifications from alea.

  • This increases your chances of not missing any important messages.

Importantant service note:

The initial installation and functional testing on site will be carried out by AssistMe or one of our authorised partners. However, in certain cases, the initial installation and commissioning can be carried out on your own responsibility. An adequate visual inspection will ensure that all components, as described in the previous chapters, are functioning and connected.