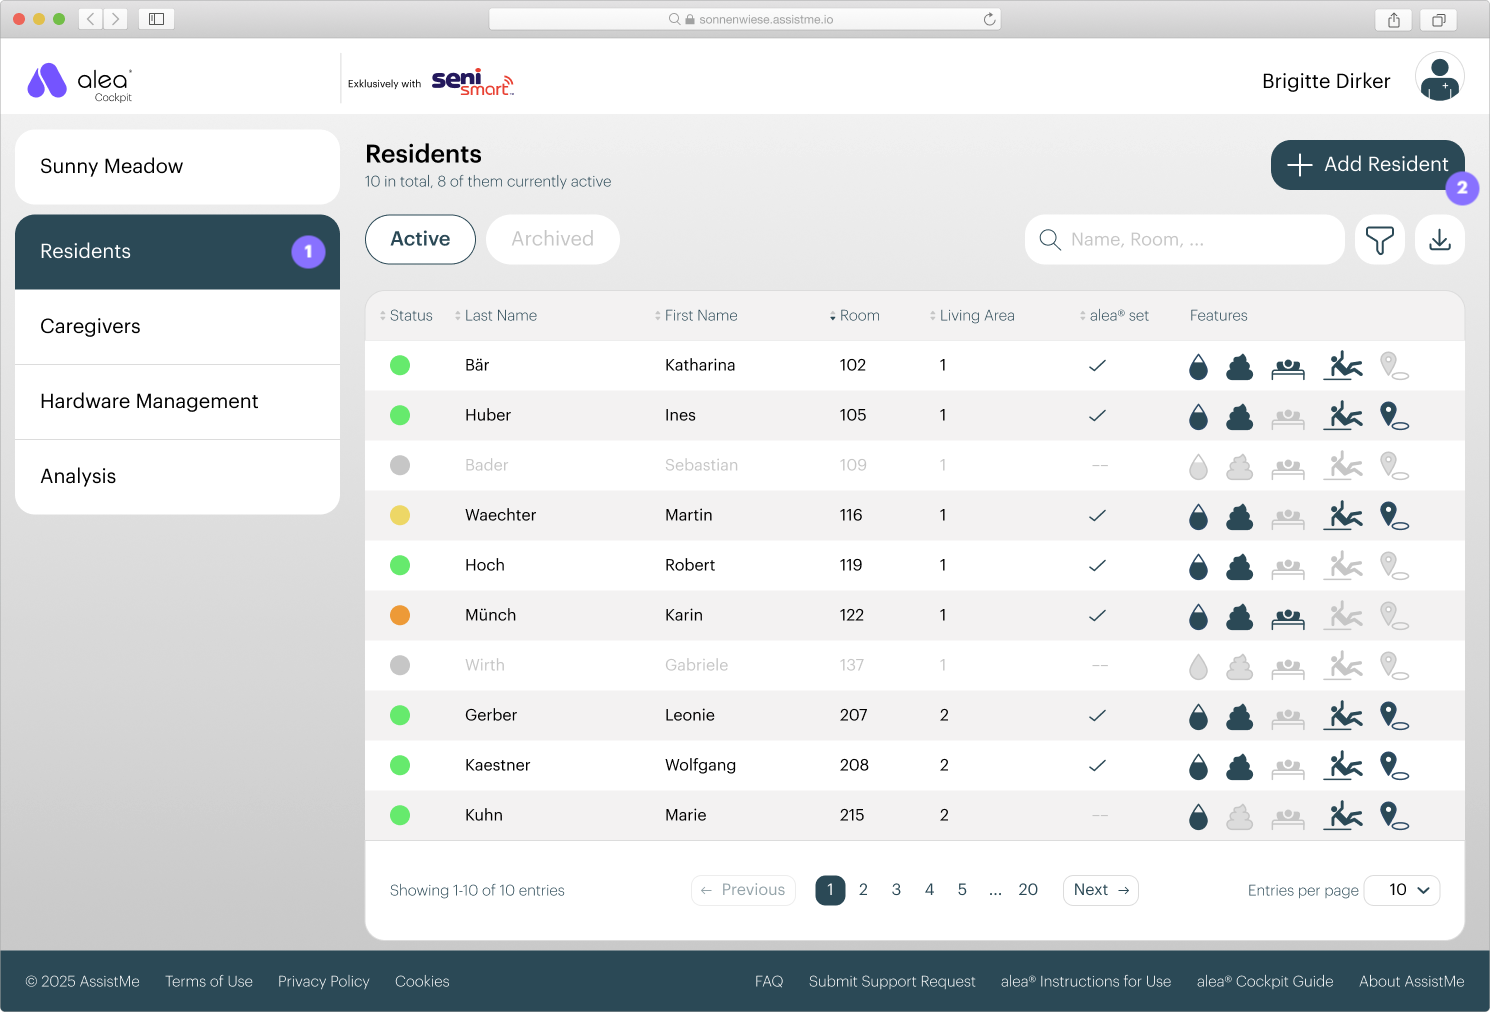
Make sure that you are in the Residents tabts tab (1).
Then click on the '+ Add resident' button (2).
Step 2 of 6
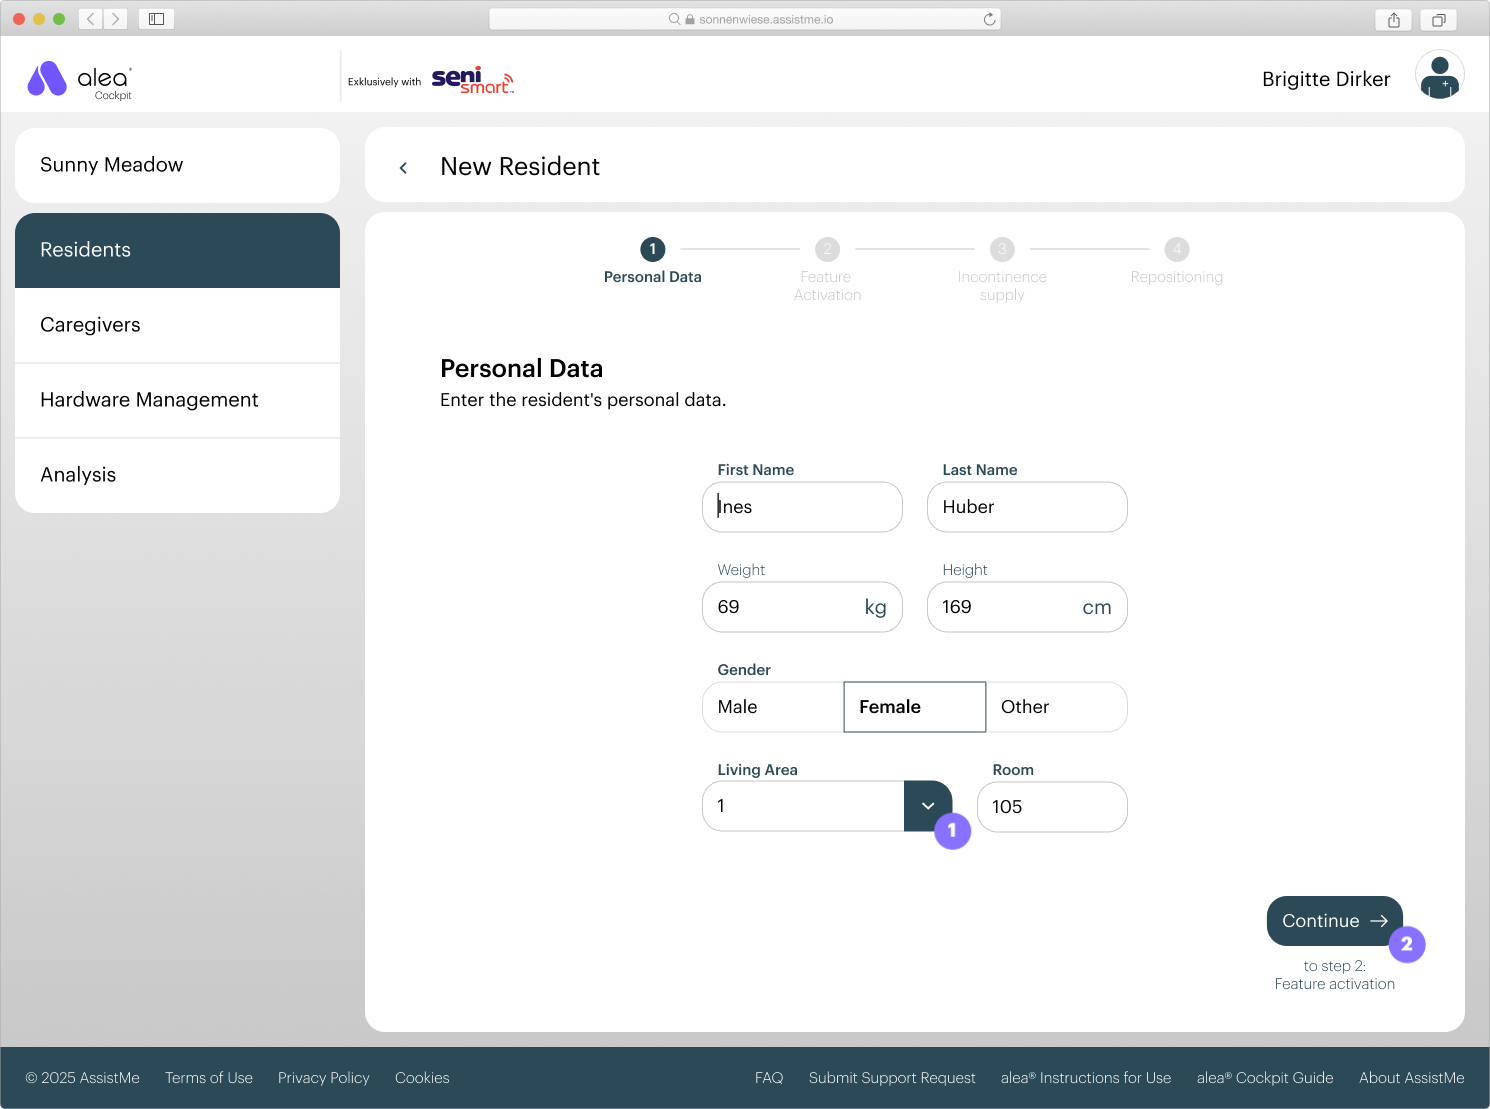
Enter the resident's personal data:
First st name, surname, gender, area of ressidendence and room are mandatory.
Select the living area in the drop-down menu (1).
If the appropririate livi living areaa does not yet exist, you can create it by clickinging on New living area.
Then click on the Next button(2).
Stepep 3 of 6
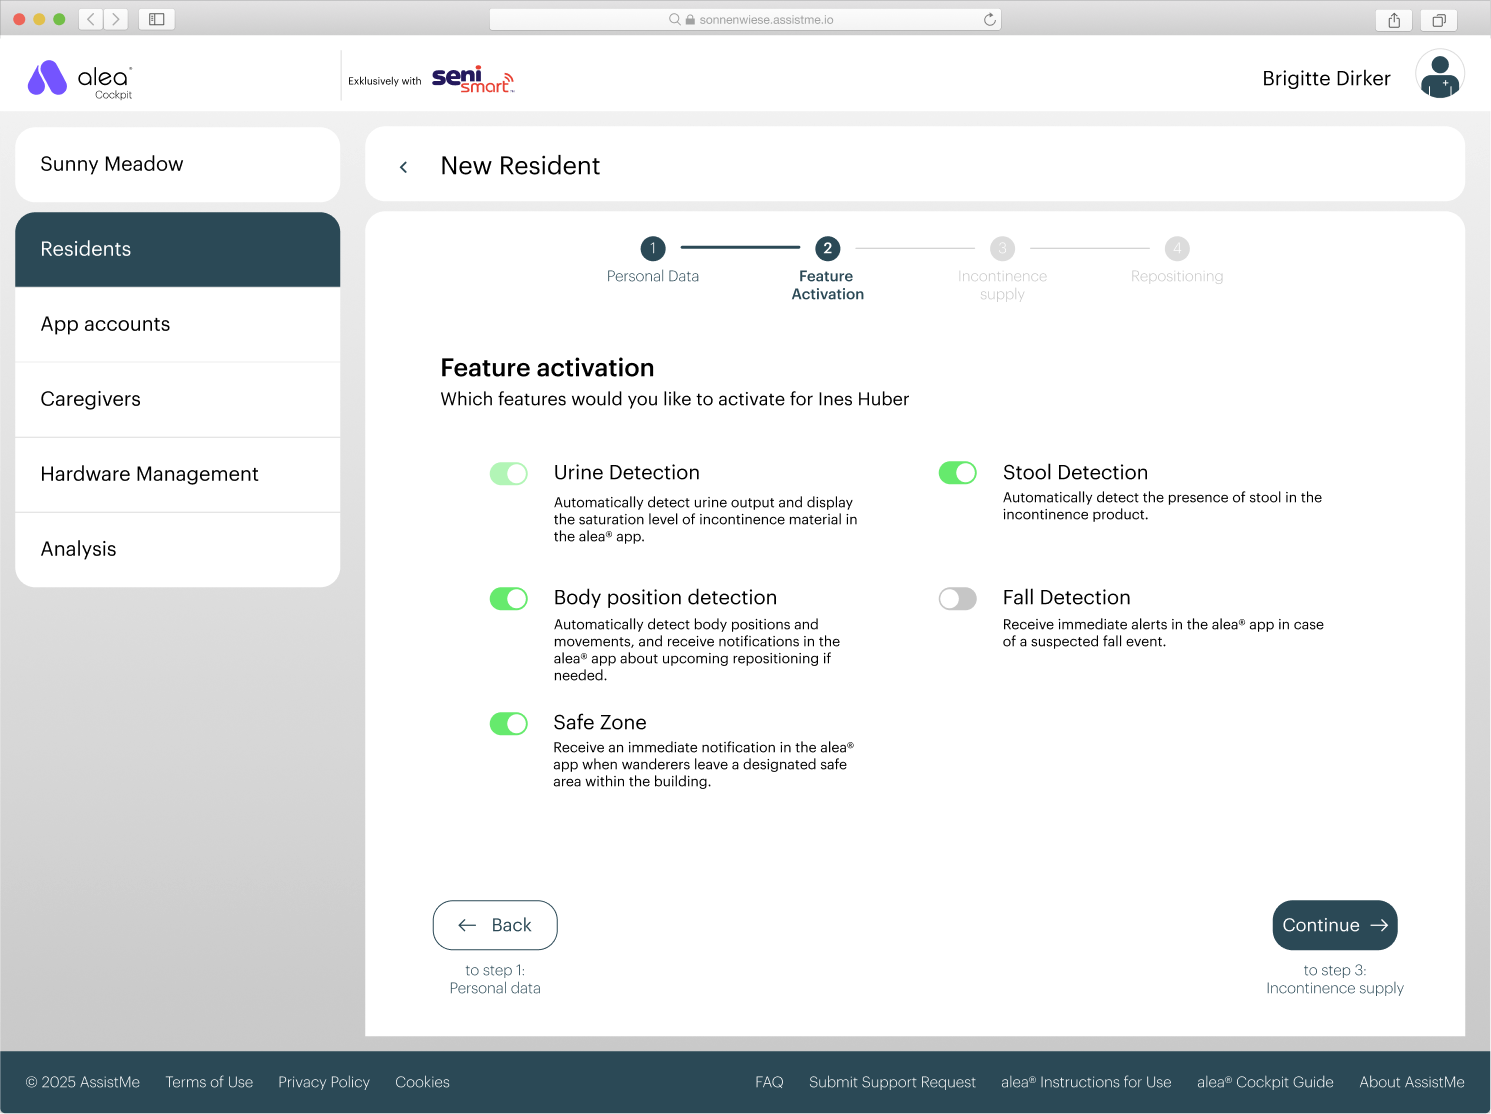
In the Function Activation section, you can use the switch to individually specify which alea functions should be activated for each resident.
The urine detection function is permanently activated for all residents and cannot be switched off manually.
Urine detection: Automatically detect urine excretion and display the degree of utilisation of the incontinence material in the alea app.
Body position detection: Automatically detect body positions and movements and, if necessary, receive information about upcoming repositioning in the alea app.
Safe area: Receive immediate notification in the alea app when a person with wandering tendencies leaves a building area defined as safe.
Fall detection: Receive immediate notification in the alea app if a fall is suspected.
When you are finished, click on the Continue button at the bottom right.
Step 4 of 6
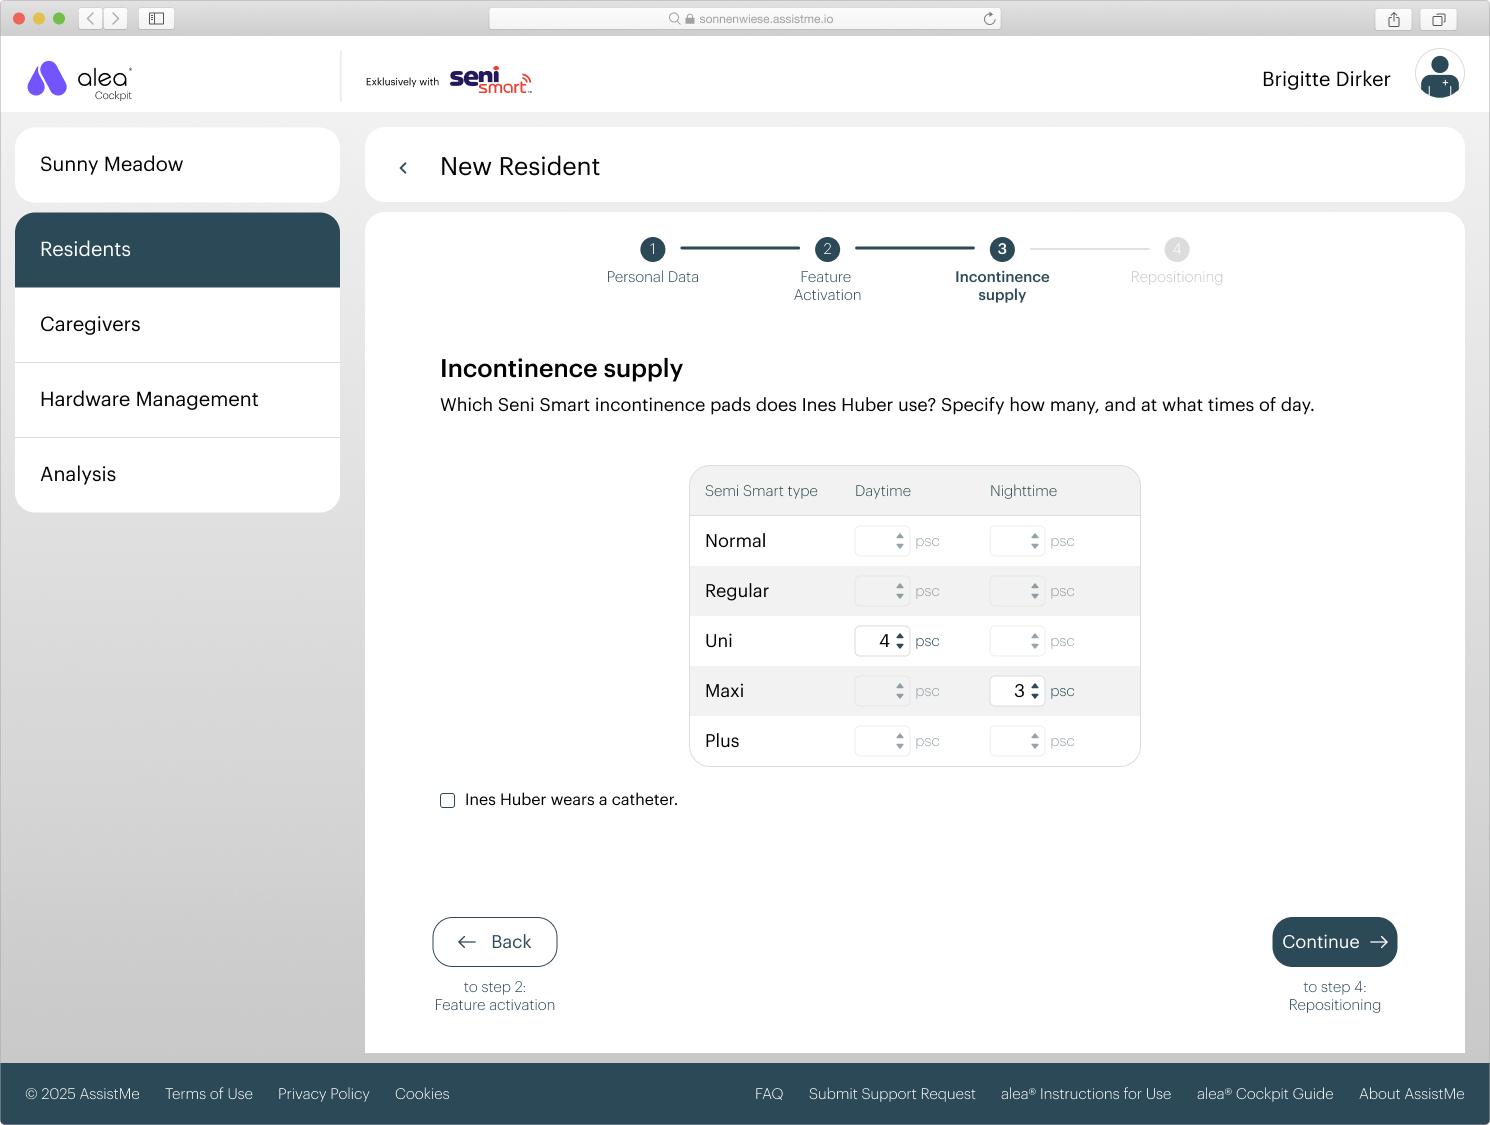
In the incontinence ca care section, you specify the resiresident's daily requirement for
Seni Smart incontinence pads.
Specify the number of templates used peer day and night.. At leaast onone Seni Smart typee must be selected focted for day and one for night.
Then click on the Next buttonat thhe bottom right.
Step 5 of 6
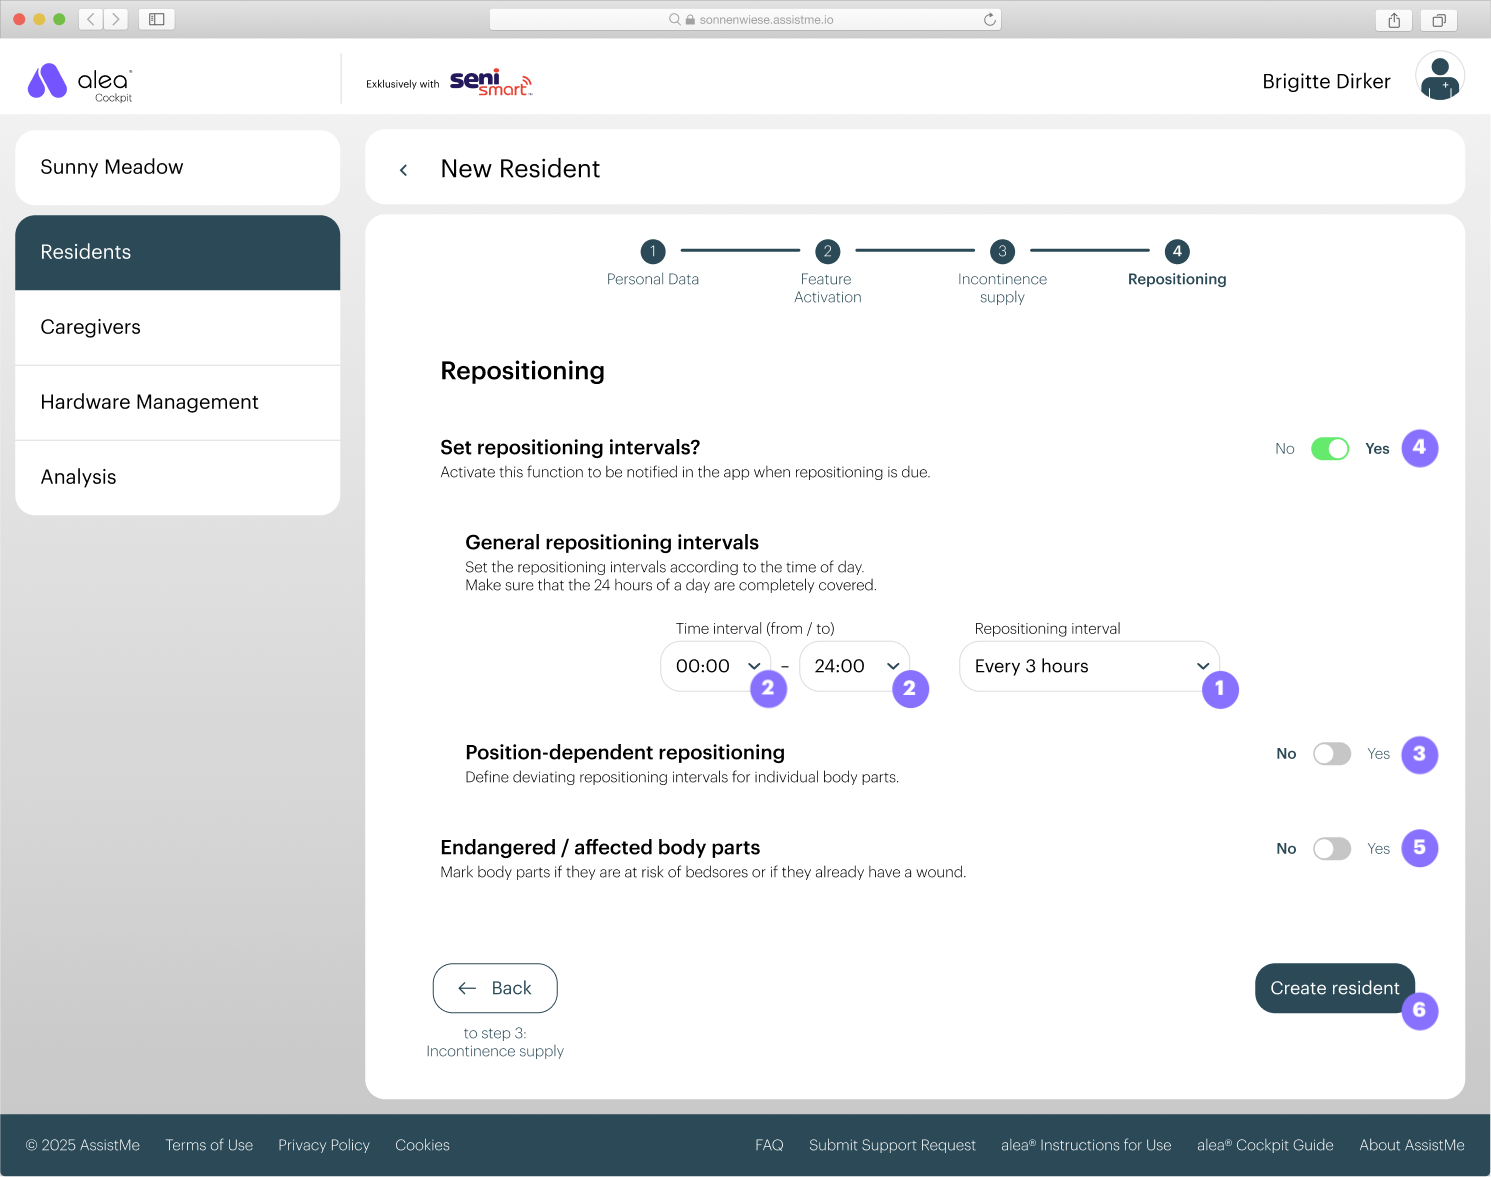
If you have activated the body position detection function, you can optionally configure additional settings here in the positioning section.
By default, a positioning interval of 3 hours is set for the entire day. This means that as soon as a resident spends more than 3 hours in one position, the alea app displays the notification ‘Positioning interval reached’.
You can adjust the length of the repositioning interval (1) or create multiple repositioning intervals for different times of day by adjusting the time interval (2).
It is also possible to define individual repositioning intervals for individual body positions (3). These then override the general repositioning intervals.
If you prefer not to receive notifications about due repositioning in the alea app, you can deactivate the repositioning intervals completely (4). In this case, the resident's body position will continue to be displayed in the alea app.
Finally, you have the option of marking body parts that are at risk of pressure ulcers or already affected by pressure ulcers (5). In such cases, alea will immediately send a push notification in the alea app if a body position that puts strain on the affected body part is adopted.
Click on the Create resident button to save the information and add the resident to the system.
Step 6 of 6
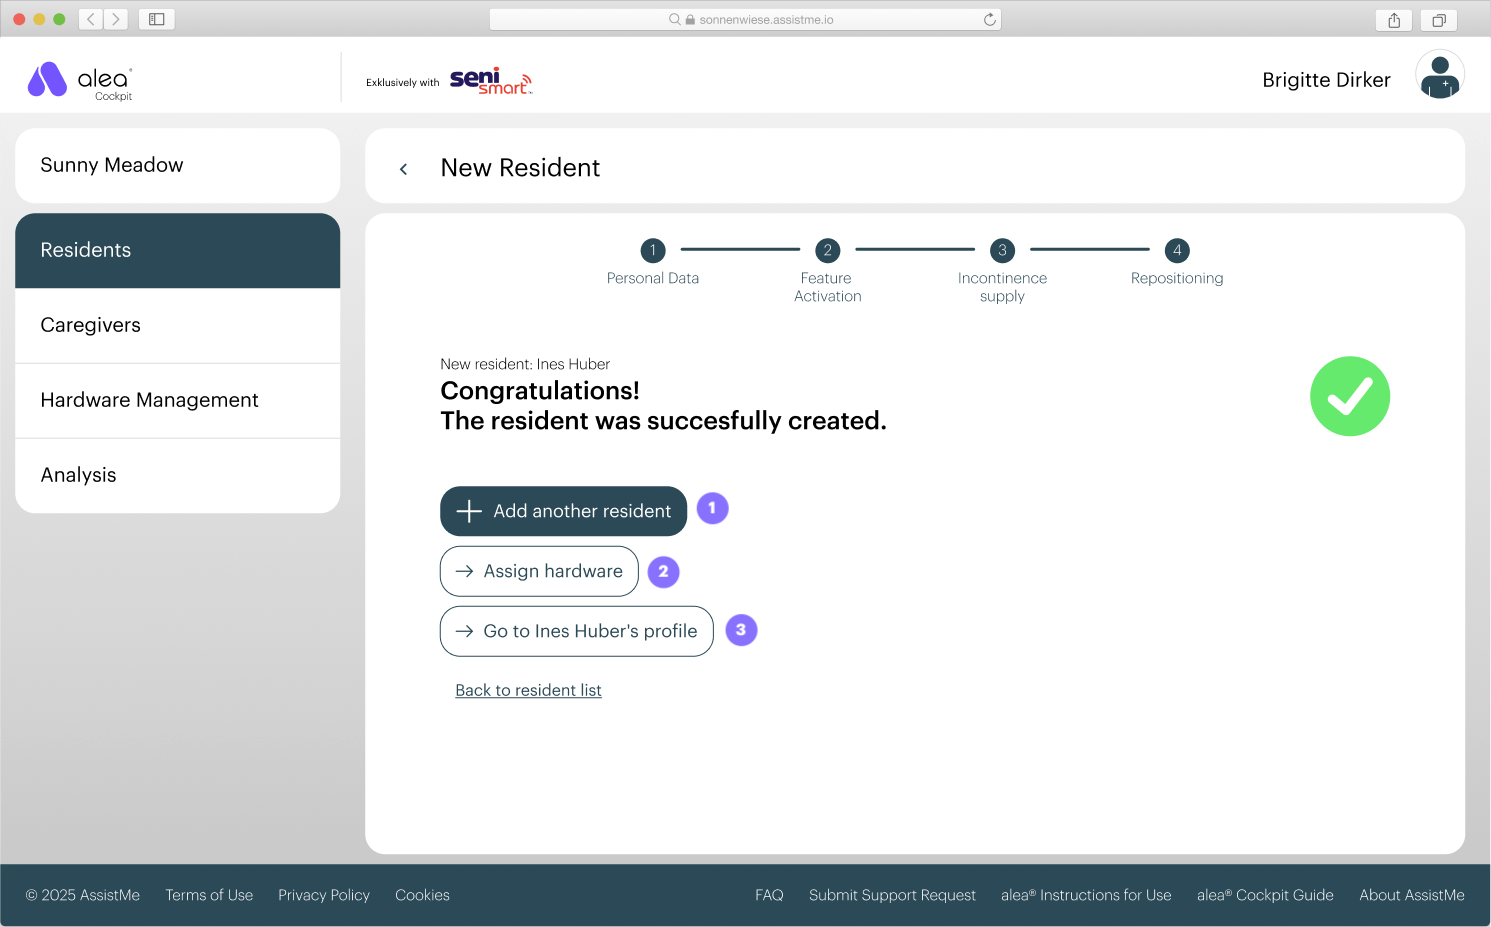
The resident is now added to the alea Cockpit and stored in the resident list.
You can add another resident directly (1).
To activate the resident for the use of alea, you still need to assign hardware to it (2). See also Chapter 2.2.
In the resident detail view (3), you can view all the details you have entered again and edit them if necessssary.